


Due to another
change in the venue location, this turned out to be even a better decision on
my part as the fashion show was staged inside a large tent and our dressing
room, a smaller tent, was quite small. But physically I don’t know if I could have
handled changing in and out of dresses either, as my energy level was extremely
low. All in all, it was a better choice for me this year.
I spent a
couple days hand tacking the fabric ribbons to my bonnet and basted in the
pleated white lining on the inside. Since the inside wasn’t going to show, for
right now I left the very bottom open and will later stitch a round piece of
the fabric inside to finish it. Then I tacked my vintage brown and aqua leaves about
the crown. I first thought of having them stand up as you see on many period
bonnets like this but just ended up having them tilt up in various places. Sometimes
you have to let your bonnet speak to you while you’re working on it. I use
straight pins to hold them in place, just sticking them straight down into the
bonnet until I’m ready to sew. That way I can move them as I go if I don’t like
where they are. You just have to be careful not to poke yourself as you sew,
which I guarantee you will as I do.

I finished
up my bonnet on Thursday evening and was able to have a leisurely day making
sure I had everything I needed before leaving Saturday morning. I just drive up
in my costume and hubby was able to hook up my dress before I left. On arrival
at my hotel instead of stopping at a mirror to put my bonnet on, I parked my
car, got out and put it on- with no mirror. So it was tilted a bit too far
forward but you got a good view of the top of it. The next day, with it in its
proper position, you can see the underside of it.


I always
have to share the “oops” parts of my outfits, and one was my belt. The gown has
a slightly lower waistline, which is marked by the piping, and my belt wanted to ride up to my waistline that my
corset gives me. But when I get time I’ll be putting some belt loops on it,
hopefully invisible since I don’t think they used them, and it will stay in
place.


I spent a
good part of the day finding a bench to sit on and rest to conserve energy but
did march in the Characters Parade through the event. We’re separated into
different Dickens book catagories and carried signs of the character we are. At
the end of it “Mr. Charles Dickens” introduces and describes each of our
characters to the crowd. On Saturday I was part of “Hard Times” and the next
day I was with “Great Expectations”. Here we are lining up ready to start our
parade.


Later in the
afternoon we headed over to the tent to start the fashion show. Our models sat outside
in the back waiting to go on. The theme for the show was Women of Dickens World
so we portrayed either women in his life or his books. I was Miss Betsey
Trotwood from David Copperfield.


On Sunday we
repeated the show again with a few changes in the line-up. I believe there was
a total of 17 outfits modeled with just a couple ladies having to change into
another one.


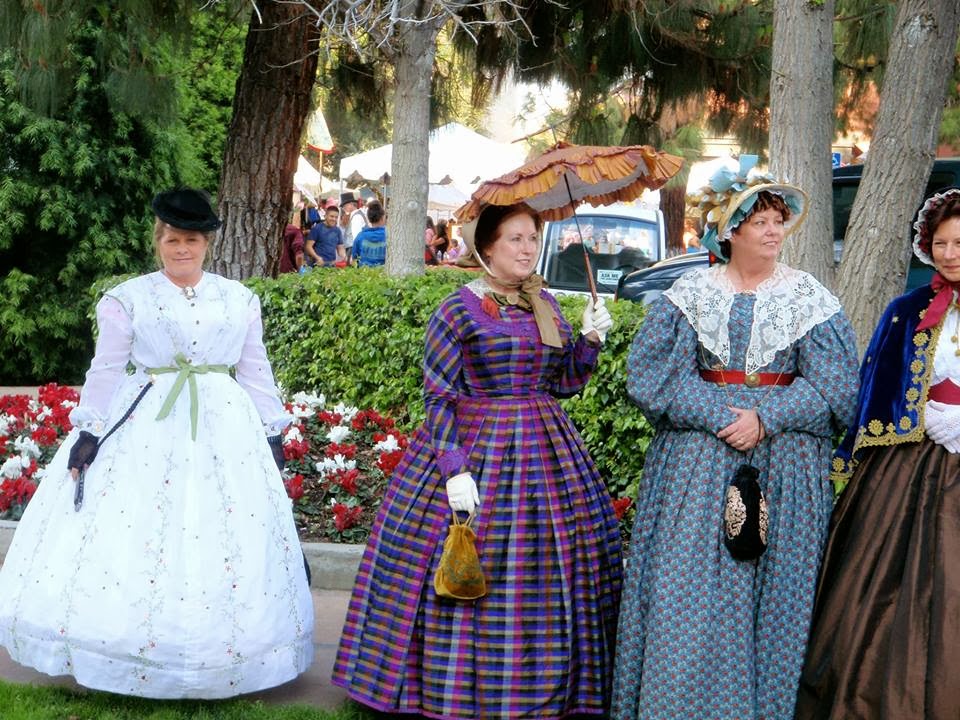
Being inside
the tent, a smaller venue than the previous auditorium, there wasn’t any space
for all of us to come out at the end of the show for people to take photos of
us. So we went outside and lined up for them. When they came out, cameras began
popping up, and many came running over to take closer looks at the details. I
think everyone enjoyed that! The cars in the background weren’t so great but
all the greenery was.
This is from Saturday.

And these are from Sunday’s show.


This is one
of my favorite souvenirs from the festival. A young lady apparently was sitting
across the walkway while my friend April and I were seated on a bench for a while.
She came over and showed us this quickly drawn ink sketch she’d done of us. I
asked if I could buy it from her so here is my favorite “photo”. I hope she
continues with this idea because I think it would be a wonderful addition to this
event and to any costumer’s album.

*Josephine
Roberts/ website- http://4hireart.com/ and on Facebook - https://www.facebook.com/4hireart
~~Val~~


