


My muslin from the JP Ryan short
jacket pattern still fit, so I cut my navy blue linen from it, and did the easy
out: I baglined it in white cotton. I used View D with the laced front, but this time I tried making
the winged sleeves on View B of the pattern. But for the life of me, I couldn’t
figure out how to attach it to the sleeves. Frustrated with my ineptness, I
left it plain, as Claire’s is. The rest went together very easily, as
all JP’s patterns do.

I had to do my cheater method with the front closure using grommets.
I can’t do a lot of heavy-duty hand-stitching so I put grommets first in using
a grommet setter, then overcast those by hand with navy blue embroidery thread.
It took a lot of thread because the brass metal wanted to show through. I
remembered last time I did this, I used a black Sharpie pen and colored over
the brass. Now I find out there may actually be black grommets. If they come in
this “OO” size I may have to get some, but I’m thinking she may have meant
regular eyelets, not these.


I finished sewing my jacket last week, and I made the
stomacher (middle insert) with a brownish-gold upholstery fabric, using the pattern piece from the Butterick 8161
pattern. I liked the rounded bottom instead of the pointed one the JP Ryan
pattern has that I used for my last white and blue short jacket. In the TV series, Claire’s was rounded, so,
there you go.


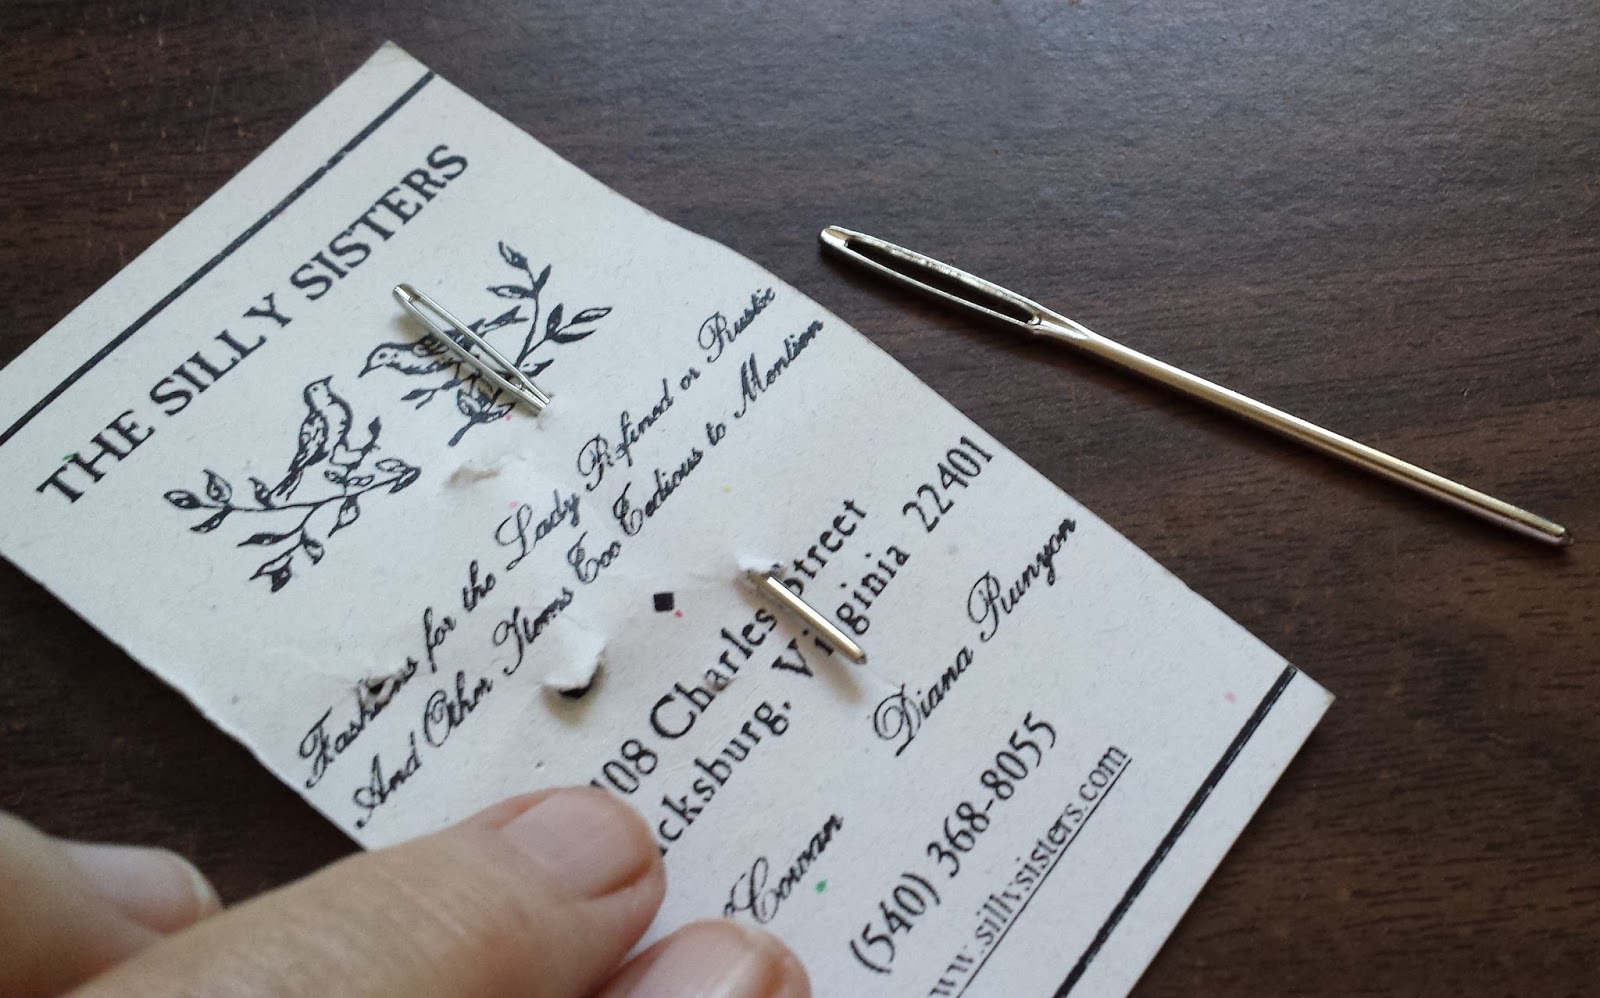
Today I laced some dark navy blue ribbon through the
grommets using my fantastic bodkin I bought from the Silly Sisters sutler years
ago in Fredericksburg. Sadly, they don’t seem to have a website anymore. These are thick rounded needles with large
eyes that a ribbon can fit through and make it through those grommet holes.
Makes it soooo much easier to lace yourself in. The Clover company has one but
it looks thicker than mine.
And voila, we have a wearable outfit.


I tried it all on the other day with the bum pad under the
back. Umm, no, just no. Then I tried it with my bum roll. Again, WHY would I
want to make my hips look bigger, and overall look bigger? If I was as skinny
as a twig, it might work. Maybe it just takes some getting used to. Or maybe not.
Next up, I cut out a fine cotton voile kerchief to go around
my neckline, which I think I’ll do some hand hemming on it. Since I don’t sew
on my machine much at night, I like having some handwork to do. I found a
couple diagrams for making different shapes on a blog. I’d love the curved neck
one but for expediency, I just went with the common triangle.


I measured 35” down the length of my voile per the diagram,
tore it, folded it in half to make a triangle, pressed and then used that press
line to cut the square into two triangles. An oops discovered the next day: I
didn’t take into account the LONGER width of the fabric (42” after
washing/shrinking) so it’s not a perfect 35” square. But I can’t even tell by
looking at it now. I turned a narrow 1/4-inch hem on the edges and did a tiny
straight stitch along the edges. Looking mighty fine.

HAIR! Now we must have hair! My wig: EEK! It’s a big mass of curls.
Massive. Curls.

It must become THIS. But I’m no good at doing hair. I can
barely make a ponytail and that’s it. So, I’m taking it to my wig lady and
going to beg for help. *Update- picking
up my wig today on Thursday. She’s going to put it on me and see if it needs
any tweaks.*

**Edited to add- I just picked up my wig and I LOVE IT!**

After this Saturday, I’ll have some photos of me wearing
this, along with many other people in their Cosplay get-ups, whatever they
decide to do. With the theme was very wide, there’s a lot of ideas out there.
**EDITED TO ADD** These are two photos from the Walkabout. The group photo was taken by Jerry of Zenfolio.


Hey, wake up there! We’ve got work to do, Chloe!

~~~Val~~~
Looks wonderful. A comfy looking outfit, and guessing easier to make than a Victorian ensemble. Can't wait to see it on Saturday.
ReplyDeleteYes, it was much easier and quicker to make than my Victorian dresses. And that is a nice break.
DeleteVal
Thank you Mary! And I miss reading your blog. :(
ReplyDeleteVal