

Yes, it’s tedious. Yes, it adds more time to making your
gown. And it’s something you have to remember to do each time. But what a
difference it makes!
I’ve never been taught how to do this but I’ve read some
instructions and looked at pictures. I’m still not sure if I do it the *right*
way but I figured out a way *I* can do it. And it looks good.
My first attempt was sadly quite bad. I have no photos to
show just how bad. Then I tried my cheater method and I thought Hey! This is
not bad at all and it wasn’t much work. This was my first attempt on an 1850s
gown. It’s between the bodice and sleeve. Looks just like piping, right? It’s
not. Just before I sewed the sleeve on I pulled a tuck back on the bodice seam
allowance and stitched it, then sewed the sleeve on. This fabric was silk
taffeta with a heavy cotton flatling so it had a little bulk. I imagine on
lighter weight fabrics that might not work. So I was going to have to learn how
to do it the proper way.

I’m better at seeing something done on a video rather than
reading about it so I dug around and found this video. http://www.ehow.com/videos-on_4525_sewing-piping.html Each photo has a link to that segment’s
video.
These are the two cords I’m using. The Sugar ‘n Cream yarn,
purchased at Michael’s, was what I used for doing my corded petticoat and comes
highly recommended. I felt that it was a little narrow and soft for my bodice
cording and instead bought the cotton cording next to it in the upholstery
section of JoAnn’s Fabrics. Neither are very expensive.

Earlier I showed a few photos of how I was doing my piping
on Cranberry but not how I sewed it on. So here is a step by step on how I came
up with doing it. This one was just sewn in a folded over edge of a piece of
fabric & afterwards I trimmed it down. Later I just cut strips of fabric 2”
wide and stuck the cord in the middle.
My fabrics were leftovers cut along the selvedge edge. Someone might
recommend using bias cut but this seemed to work just as well and I can use
leftovers.
I pinned along the cord, then I sewed as closely and tightly
to it as I could using my zipper foot.

This is from my black fabric but I trimmed the fabric down
so it was half an inch from the stitch line of the cord.
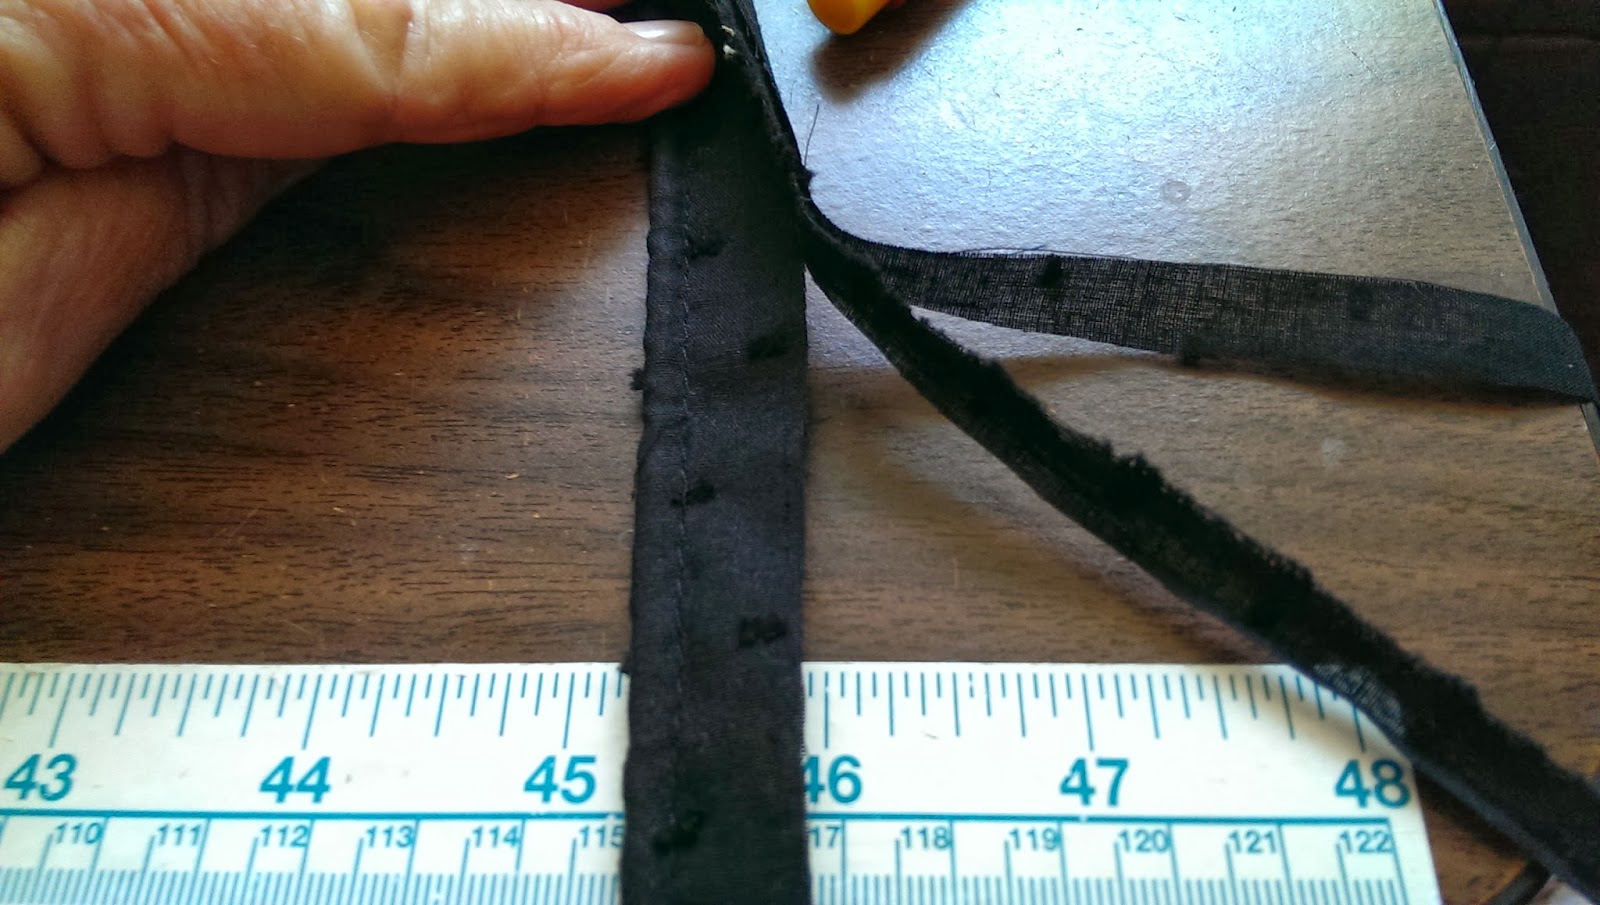

I always have a bit of green tape on my machine showing the
1/2 inch I should be at.


And voila! Piping!

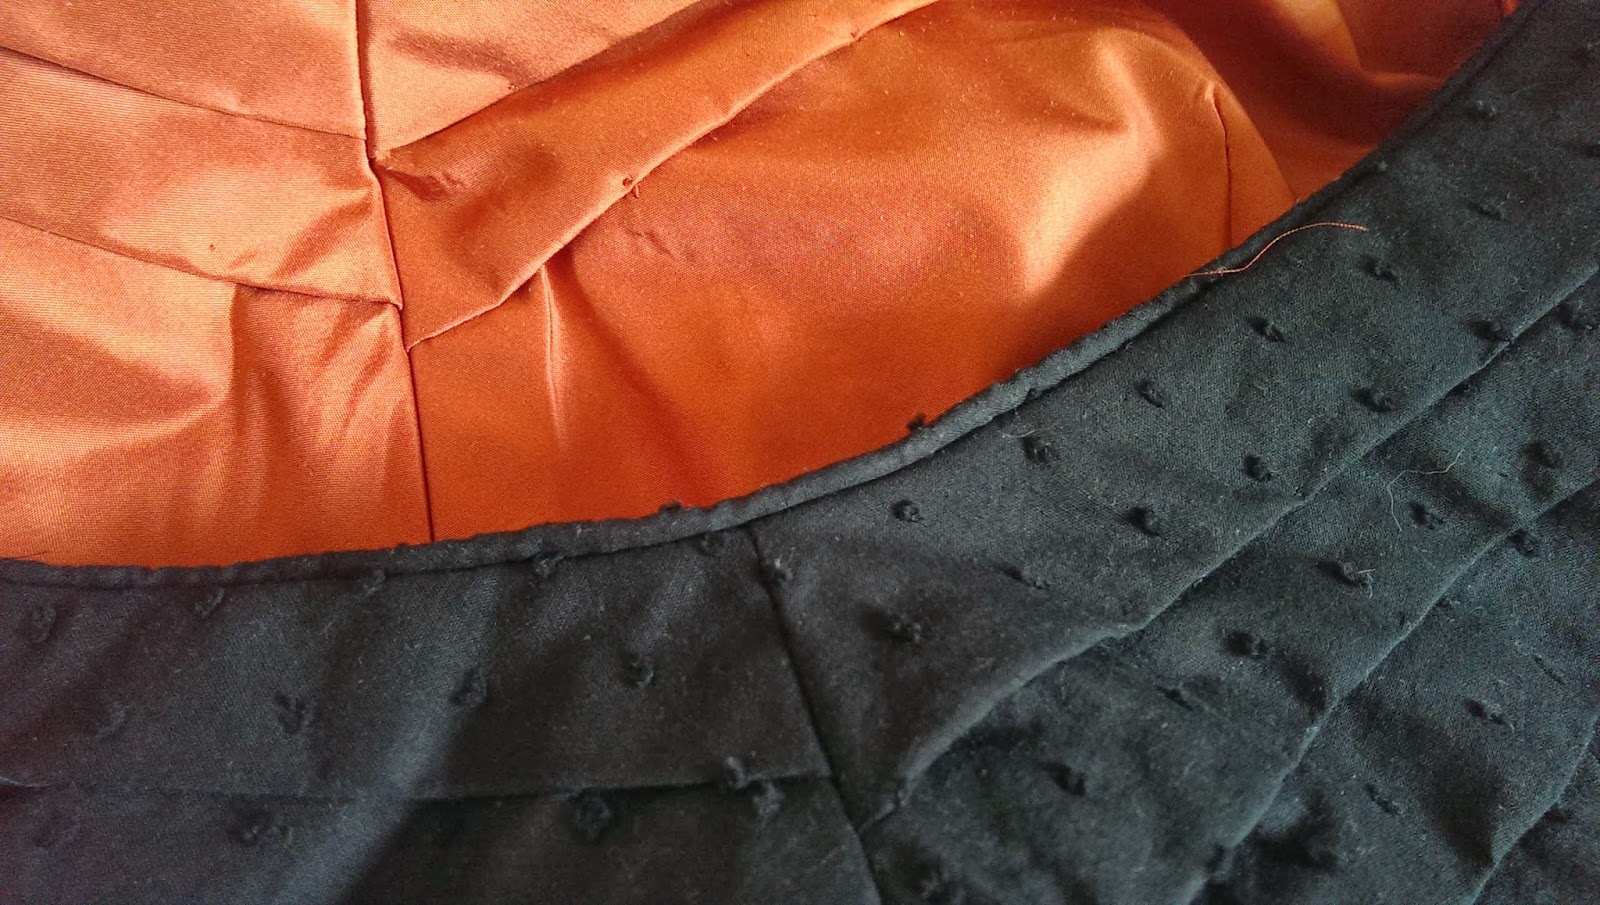
I’m able to easily use this to finish the edge of my
neckline without even having to do a facing by trimming a bit of the seam allowance and folding the
edge of the piping over and turning the edge about 1/4 inch under and slip-stitiching
it down.

Here are some of my finished edges. Yes, I did decide to add
some lace to the neckline of Cranberry. I found some in my stash that didn’t
need tea dying.


It was normal for this time period of 1830s to also have piping down the center front seam but since I was doing some big adjustments on it I didn’t see a way I could do that at the time.


~ Val
ETA: If you'd like to see how another expert does this, check out Andrea Schewe's blog, especially for doing curved areas.
Nice post - thanks for the tips!
ReplyDeleteGasp and away!!! I ADORE the blue cotton print!!! Swoon!!! Hmmmm....gets me to thinking! Thank you for posting this! It will come in handy!! Everything looks grand!!
ReplyDeleteBlessings!
Gina
Dear Val,
ReplyDeleteYep, that's pretty much how I pipe too. Good call on not bothering with bias cut if you don't have it. Our forebears were practical, even when unpractically trimming the heck out of their dresses :}
Very best,
Natalie
Natalie, that's exactly what I was thinking, that they would have tried to use all the fabrics and not waste any.
DeleteVal
Nice post Thank you very much. Your posting is very great.
ReplyDelete