This is a photo diary of my costuming "travels"; where I've learned and struggled to make historical costumes for myself. They're not always pretty, but always fun, most of the time. And I want to share with others what I learn along the way. **You can find me on Facebook, https://www.facebook.com/Time-Traveling-in-Costume-640703499399817/ or have my posts delivered to your email by signing up at the lower part of the right column.**


About Me

My photo
HI, my name is Val. I'm a member of Costumer's Guild West in Los Angeles, Dean of 2018 & 2024 Costume College; Past President of the San Diego Costume Guild, member of Orange County Costume Guild, and a representative of the San Diego History Center. I also put on historical fashion shows for various groups. I make my own historical costumes but don't sell any unless I get tired of one.The eras I've made so far are 1770 up to 1918. My favorite is the 1880s bustle.

Followers

Sunday, January 26, 2014

Watches & Watch Chains –An essential accessory

I’ve been fascinated by watch chains for the last couple years after I first started noticing the watches women wore during the 1800s. Actually both men’s and women’s were interesting. I even have two watch chains. This black one is a man’s. I’m not sure yet of the gold one but it’s a pretty one. The black one was purchased in the Port Townsend antique mall and could possibly be a mourning one. The dealer thought it was made of braided hair but after I inspected it with a magnifying glass, it turned out to be braided silk. And it’s in really good condition.  I think I bought the gold one in an antique flea market somewhere. After looking at some of the photos I’ve collected of women wearing watch chains I think this could easily pass for one.
Women’s watches are hard to come by. I had a cheapie Victorian Trading Co. one I bought in the gift shop at the Museum of the Confederacy in Richmond, VA, but after using it a couple times the stem snapped off. So at this point I knew I had to come up with a better option instead of a reproduction one.
I did my usual search for watches and the majority of them, it they’re still working, are way out of a “costumer’s budget”. I even carried a fake one that didn’t open. While in London in an antique mall I stopped by one booth to get a little education from the dealer on women’s watches. Of course the little tiny ones that were beautifully decorated were a king’s ransom. But the majority of ones I was seeing were larger about 1 1/2 to 2 inches wide and mostly were just engraved.
I had some small brooch type watches that I pinned to the bottom of my 1880s bodices and I thought they were quite cunning. Except I found out they didn't start wearing them with these until the late 1890s, and were up near the shoulder. The gold watch is a modern repro, as is the silver one. The gold brooch, another antique flea market purchase, is made for hanging a watch or pendant from. The silver one was made to use as a chatelaine that I bought at Lacis in San Francisco. Both hang about 3 inches altogether.
I was in the middle of recreating my 1850s Bloomer dress and while I was at a Costume Symposium back in Williamsburg, VA, I kept seeing portraits of ladies wearing long watch chains with their watches. Not all of them are chains. Some were beaded ribbons, or just strung beads. This was dated 1835. At this point I was on a mission to find a watch and chain for myself, and I really wanted to make a beaded one but my Bloomer dress was 1850s so I kept looking. 


So that’s the background for this post. This morning while chatting with Gina W. I mentioned the long watch chains and how many photos I’d collected. She said I needed to do a blog. So Gina; here it is.
I collected all my photos together that shows watches. Most of them are actual photos and paintings of ladies wearing them since fashion plates and catalogs didn’t show them being worn.
The earliest I have photos of are 1830s. These are all about mid ‘30s. The chains are all long and tucked into a belt, although the first one of Rachael Jackson (President Jackson’s wife) is clipped at the collar and just hanging above her belt. It may well be a piece of jewelry too.


In the 1840s they seemed to just have the long chains.


Or a long set of beads as shown in this 1843-48 daguerreotype.
Then I started finding some 1850s examples. This photo came from my research on the Bloomer gown where the lady on the right is wearing the gown I copied before she had it altered to a Bloomer. All three of them have their watches attached to ribbons which are pinned to their lower bodice and tucked into a watch pocket at their waistline. Watch pockets are still a mystery to me. I haven’t successfully added one to any of my dresses yet.
Both of these ladies have a long chain although the one on the right dated 1854, may have a very ornate pendant or watch on hers.


In the 1860s the watch chains and watches were shorter. A couple photos show them still tucked in the belt if they had one, and some now hanging on the outside where the watch showed. 


This one of Dr. Mary Walker, wearing her Bloomer gown in the 1860s, has a visible outside watch pocket on the waistline of her bodice. I think this watch chain looks similar to the gold one I have.
I couldn’t find any in the photos I found of the 1870s but they popped up again in the 1880s with their bustle gowns. They’re still showing long chains but more watch pockets are visible on the outside.  


I found one photo in the 1890s with these two young ladies wearing long chains. Another I found looked like a watch but on closer inspection it was a lorgnette. I wonder if that’s what all those long chains eventually became?
Since I’ve been working on a couple 1830s dresses, and my inspiration photo of one of them did have a watch on a long chain, I dug mine out and it’s the perfect accessory to go with my gowns. My chain is 55 inches long. I bought the working watch from a friend of mine and it’s the perfect size.


You know what? You can’t buy chains this long anymore. Guess where I got mine? On a cruise ship. In one of their kiosks they sell a variety of chains by the inch. You tell them the length you want, pay for it, and later pick it up with the connectors attached to them. I picked a rope chain and think I paid $24-$27 for mine, so that’s about 4 cents an inch. Its 14k electroplated gold, and not a bright shiny gold that looks cheap.
I know I’ve seen them in other places than a cruise ship but never paid much attention to them. So if you know anyone going on a cruise, or come across one of those vendors somewhere, check it out.
***********************
ETA: For those of you interested in the 1830s-50s beaded watch chains, read more about them here: http://aylwen.blogspot.com/2011/03/making-1830s-beaded-watch-chain.html
Aylwen was at the same symposium that I was and took this class while I was in another. 
To purchase the Piecework magazine online with the article on them, go here: http://www.interweavestore.com/piecework-may-june-2000-digital-edition 
And if you want to make the bead loom for making one, here's some instructions: http://www.museum.state.il.us/ismdepts/anthro/beads/pdfs/Loombeadinglesson.pdf

Thursday, January 23, 2014

The 1830s Project: Midnight Mourning’s Awakening- Part 5

I’m stalled on Persimmon’s sleeves since the inspiration photo has different sleeves than what I’ve been doing and are much fancier. Since I have an antique lace collar on it, if I’m going to put lace on the sleeves, it needs to be something similar to it. So instead of just sitting here staring at it, I went to work on Midnight Mourning. I finished up the sleeves on it, and spent oodles of hours trying to pleat the skirt into the bodice. The skirt has three panels, all the same size, one in front and two in back. The instructions say to pin the center fronts of skirt and bodice together, and the center backs, then pleat or gather. My first logical thought was to match the side seams also, which put all that fabric in the back. This is kind of a round gown evenly pleated/gathered all around. So I questioned Heather McNaughton about matching the side seams, and she said to just gather/pleat between the front and the back, and ignore the side seams. So I did.
While sitting and watching a marathon of recorded programs, I pinned in the knife pleats- first wide ones but ran out before I got to the back, then narrow ones, same problem. Unpinned. Tried working from the back to the front but still couldn’t get them even. Unpinned. Tried working from the front and pleating around to the back. Better, but ended up not enough fabric in the center back. I want a bit of fullness there to cover the placket. In the end, I pleated tighter starting in the back, doubling them, and then once I reached the side seams I went to a single pleat. I was also trying to have an area at the center front with a bit wider pleat so it didn’t poof out. Can’t have any poofing out. Not very desirable.

Three hours later, it’s all sewn in, and only included having to rip out part of the front once.

Instead of just putting It on my dress form for a photo, I added my long chain w/ watch; a simulated belt of black taffeta & pinned the belt buckle on, and added a little pin at the neckline to get an idea of how it was coming along. I’m VERY HAPPY. I just ordered some black velvet ribbon from ebay to trim along the neckline and down the center front. Probably do the sleeve cuffs too.
Now my brain wants to keep going with this and thinks I need a sheer white chemisette like artist John S. Blunt does on all his models. And my belt buckle needs to be pinned on the opposite way. It’s not a real buckle but a pin. 


I just purchased a straw bonnet form for my bonnet to go with this from Austentation.com  http://www.austentation.com/boutique/bonnets.html
I’ve used Eliza model before and really like the shape. I plan to cover it with black taffeta and big fluffy ostrich feathers. Finally have a use for all those I’ve been hoarding whenever I found any.
But then of course The Squirrel had to be involved and saw this lace day cap. I want to look as regal as she does. Now where can I find some nice crisp sheer lace like this? Anybody?!! Does anybody want to make one for me??
And aren’t I glad I didn’t see it first with that fine detailed corded trim on the front bodice. If you can see that tiny little brooch she has, I have one of those. It was given to me years ago by a fellow costumer as a gift at one of my tea parties. Might be perfect for this.
Now I have more programs lined up for more marathon TV watching and will start pleating Persimmon’s skirt next.


Sunday, January 19, 2014

The 1830s Project: Part 4- Debunking Scary Piping

Yes, it’s tedious. Yes, it adds more time to making your gown. And it’s something you have to remember to do each time. But what a difference it makes!
I’ve never been taught how to do this but I’ve read some instructions and looked at pictures. I’m still not sure if I do it the *right* way but I figured out a way *I* can do it. And it looks good.

My first attempt was sadly quite bad. I have no photos to show just how bad. Then I tried my cheater method and I thought Hey! This is not bad at all and it wasn’t much work. This was my first attempt on an 1850s gown. It’s between the bodice and sleeve. Looks just like piping, right? It’s not. Just before I sewed the sleeve on I pulled a tuck back on the bodice seam allowance and stitched it, then sewed the sleeve on. This fabric was silk taffeta with a heavy cotton flatling so it had a little bulk. I imagine on lighter weight fabrics that might not work. So I was going to have to learn how to do it the proper way.
I’m better at seeing something done on a video rather than reading about it so I dug around and found this video. http://www.ehow.com/videos-on_4525_sewing-piping.html  Each photo has a link to that segment’s video.
These are the two cords I’m using. The Sugar ‘n Cream yarn, purchased at Michael’s, was what I used for doing my corded petticoat and comes highly recommended. I felt that it was a little narrow and soft for my bodice cording and instead bought the cotton cording next to it in the upholstery section of JoAnn’s Fabrics. Neither are very expensive.
Earlier I showed a few photos of how I was doing my piping on Cranberry but not how I sewed it on. So here is a step by step on how I came up with doing it. This one was just sewn in a folded over edge of a piece of fabric & afterwards I trimmed it down. Later I just cut strips of fabric 2” wide and stuck the cord in the middle.  My fabrics were leftovers cut along the selvedge edge. Someone might recommend using bias cut but this seemed to work just as well and I can use leftovers.
I pinned along the cord, then I sewed as closely and tightly to it as I could using my zipper foot.
This is from my black fabric but I trimmed the fabric down so it was half an inch from the stitch line of the cord. 
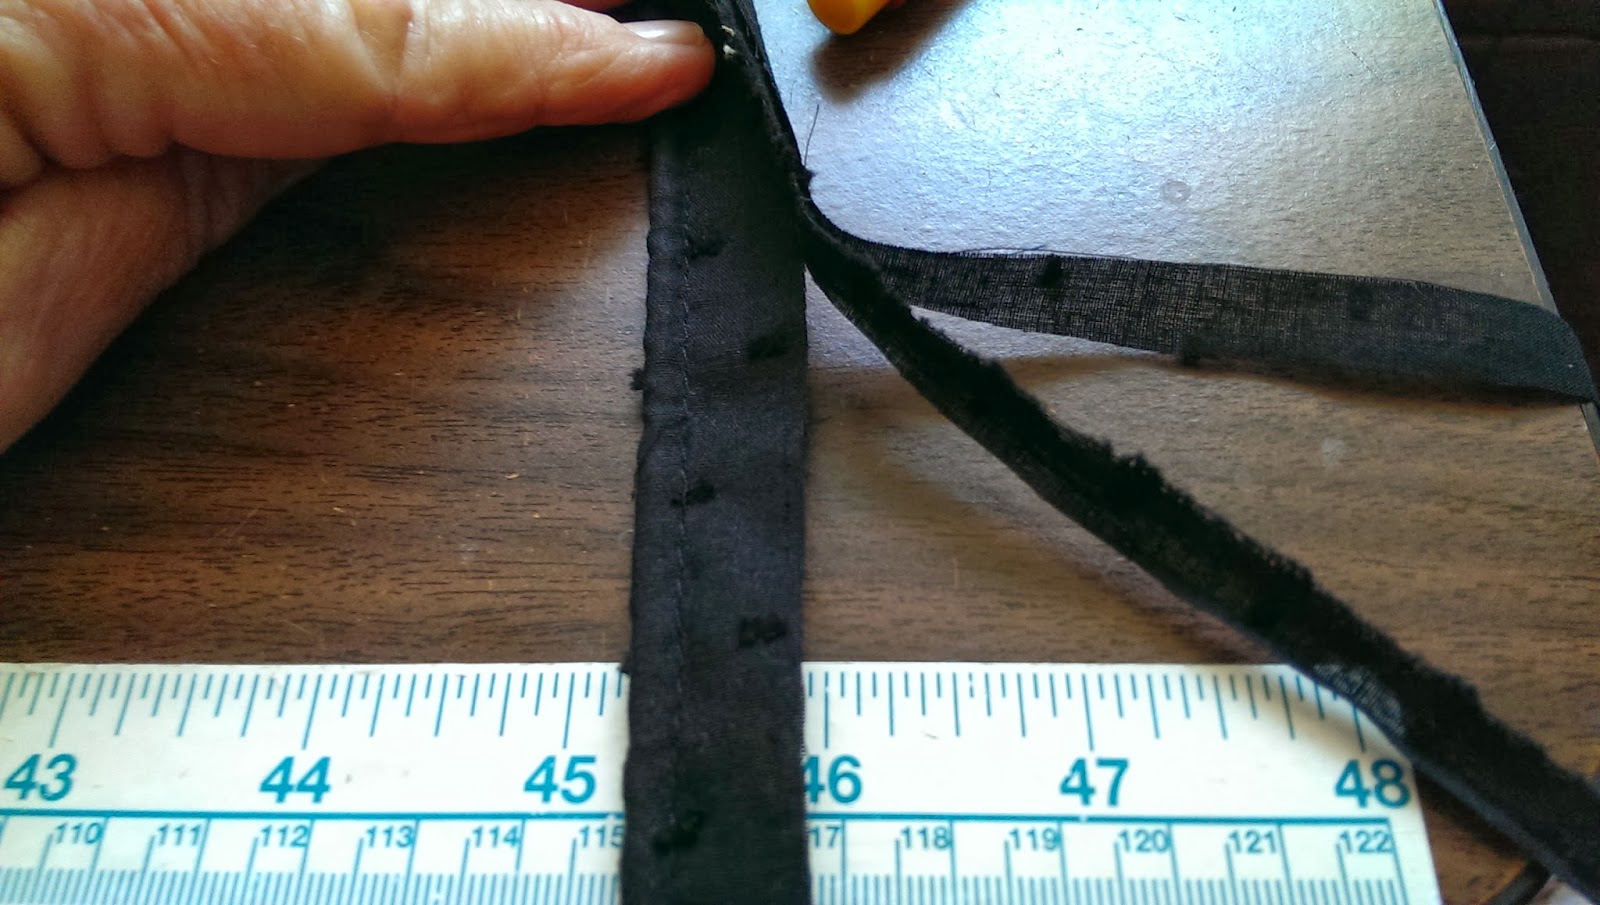
Now here’s the method I came up with. My seams are ALL 1/2 inch so if you’re using the 5/8 inch you would need to adjust for that. It will still work the same. I lined up the edge of my piping strip to the edge of my seam, right sides together and machine basted it on using my zipper foot. My finger is pointing to the pin that shows where I’m basting it.
I always have a bit of green tape on my machine showing the 1/2 inch I should be at.
 
Next I laid the other half of my fabric, in this case my skirt, right sides together matching the edges. I sewed my usual 1/2 inch seam again with my zipper foot snug up against the piping which you can see and feel as you go.
And voila! Piping!


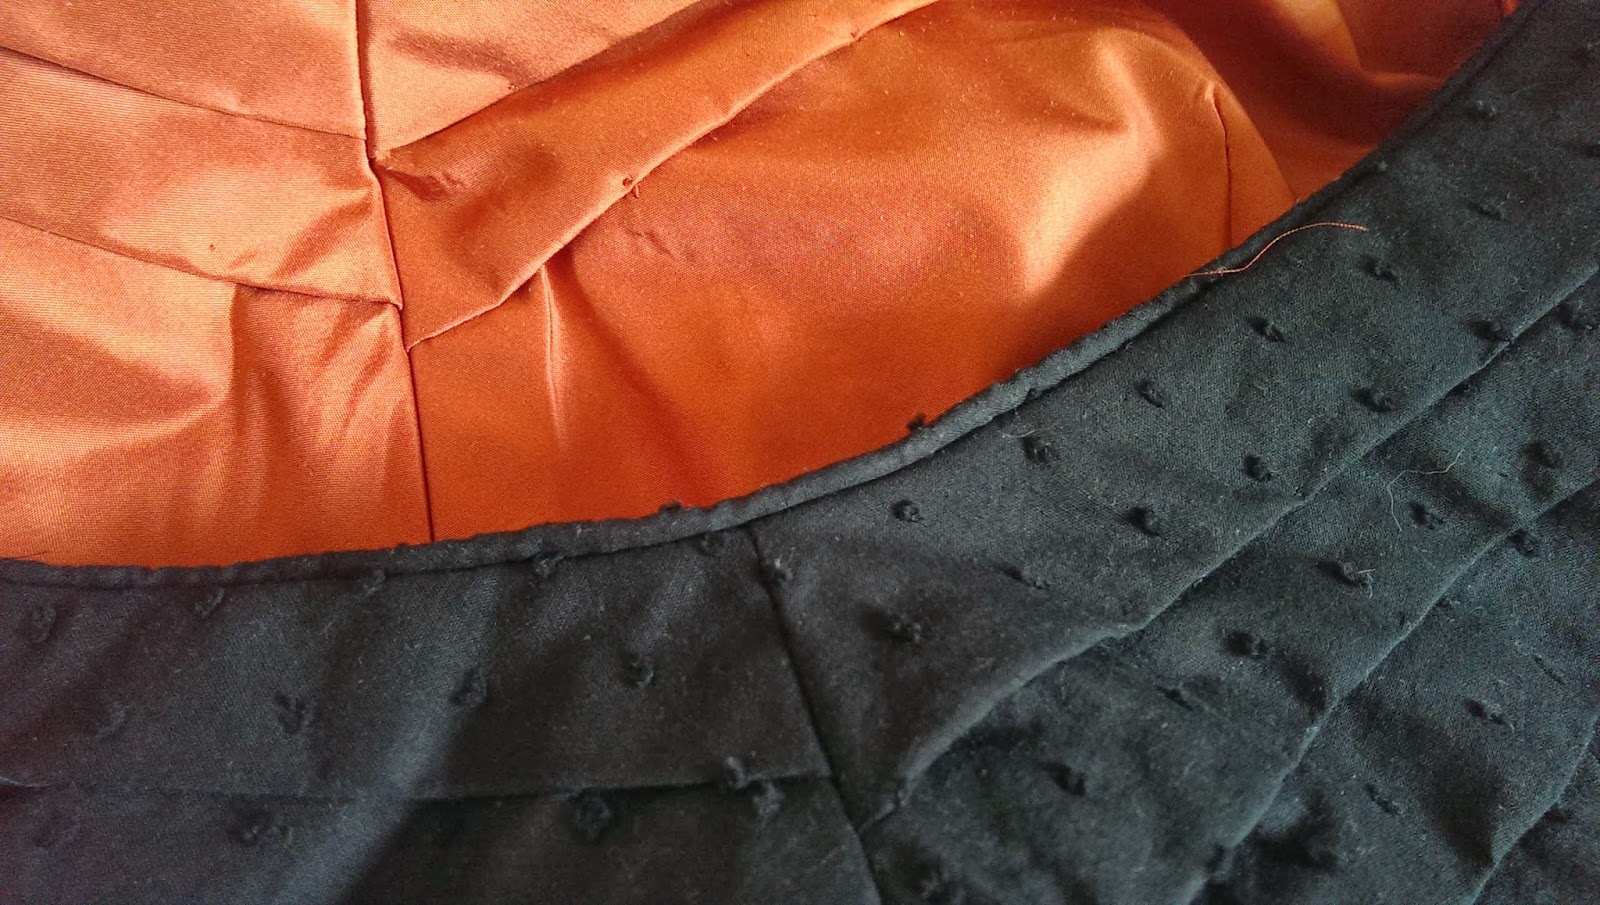
I’m able to easily use this to finish the edge of my neckline without even having to do a facing by trimming  a bit of the seam allowance and folding the edge of the piping over and turning the edge about 1/4 inch under and slip-stitiching it down.
Here are some of my finished edges. Yes, I did decide to add some lace to the neckline of Cranberry. I found some in my stash that didn’t need tea dying.


It was normal for this time period of 1830s to also have piping down the center front seam but since I was doing some big adjustments on it I didn’t see a way I could do that at the time.


 Now back to work.
  
~ Val
ETA: If you'd like to see how another expert does this, check out Andrea Schewe's blog, especially for doing curved areas.